NIXIE SHIELD.
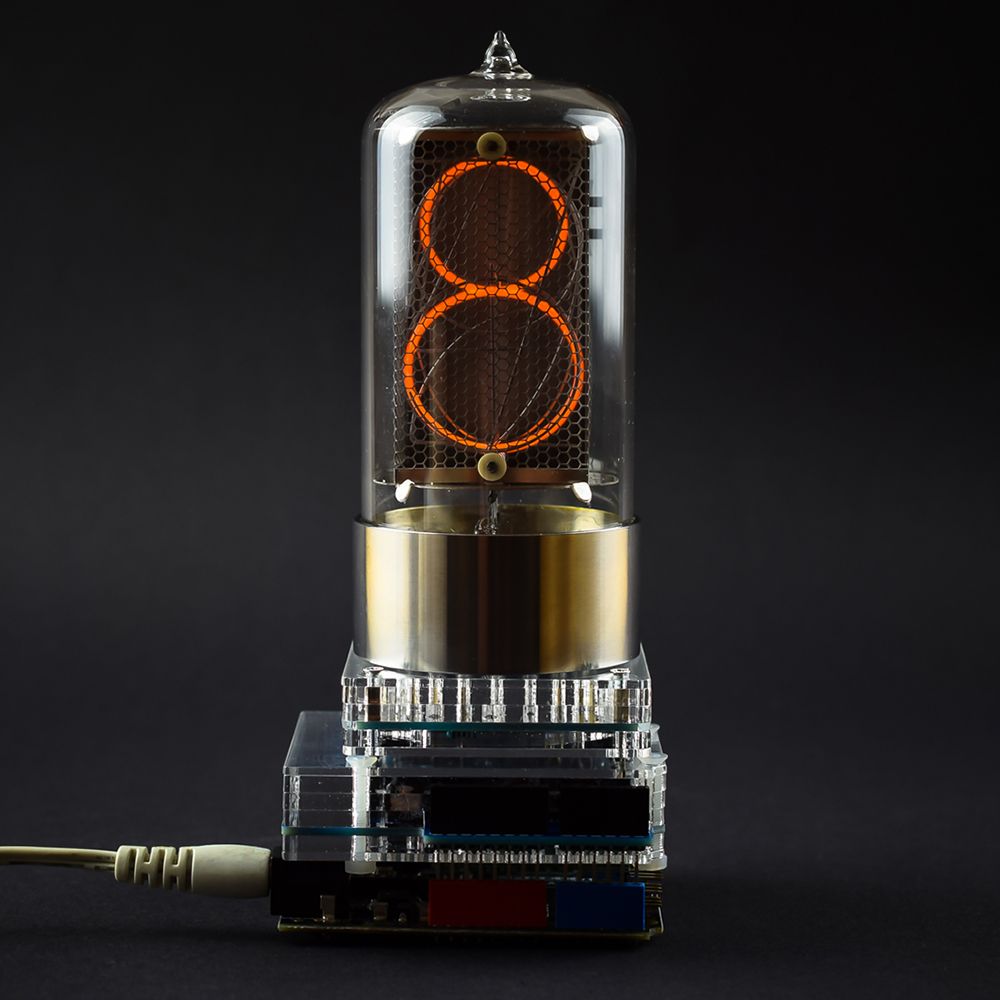
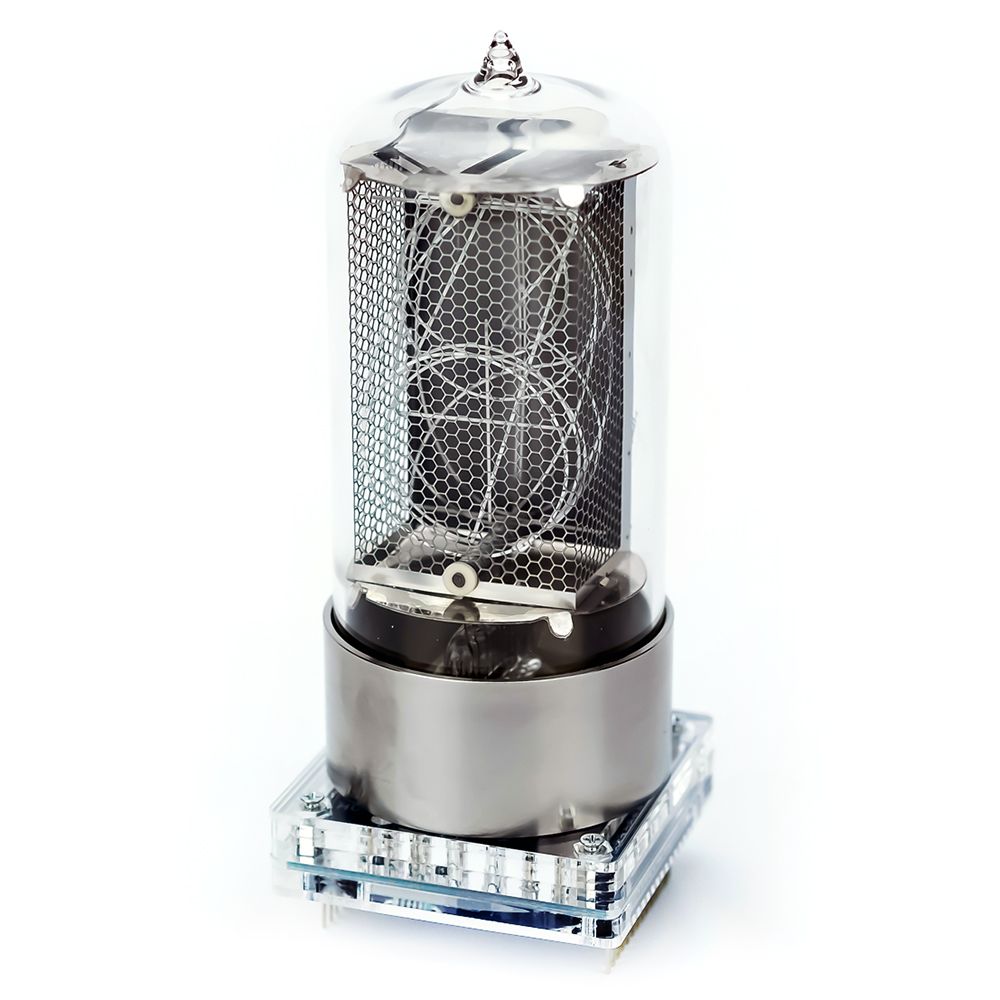
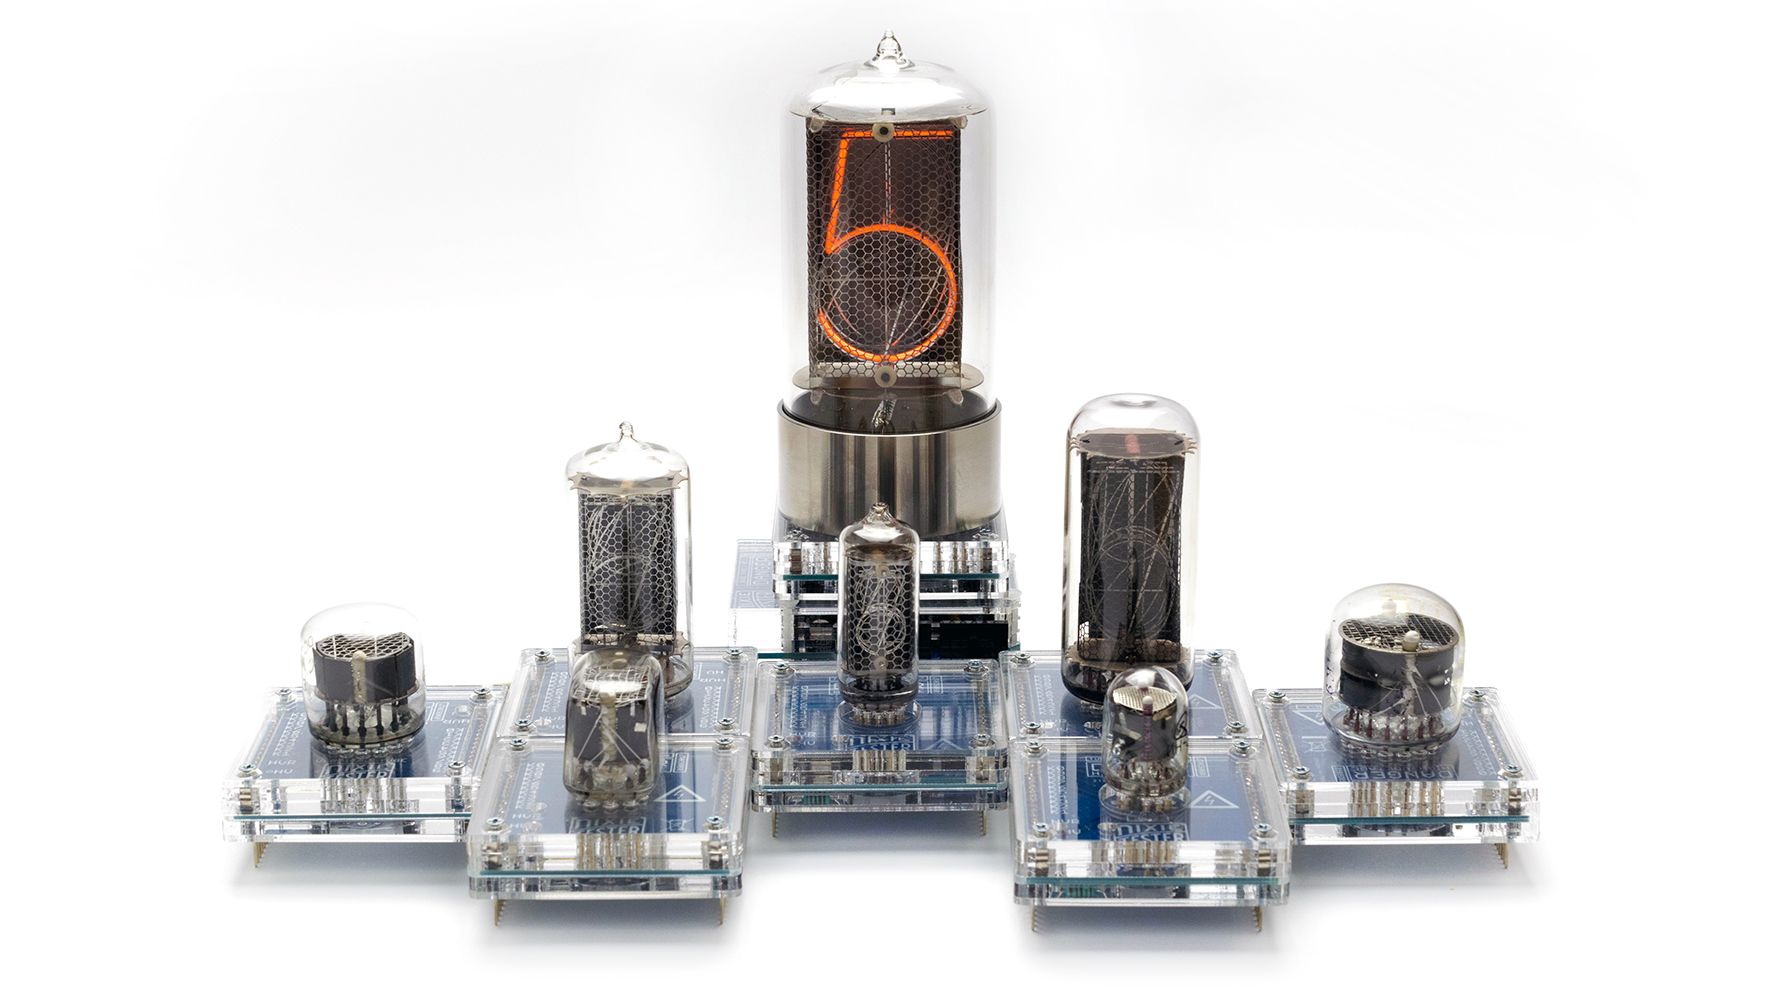
The Nixie Tube Shield for Arduino is a great start with nixie tubes. This project allows you to use any nixie tube and build a simple display with one tube for use in your projects. Easy to use, coding and easy to assemble.
HOW IT WORKS.
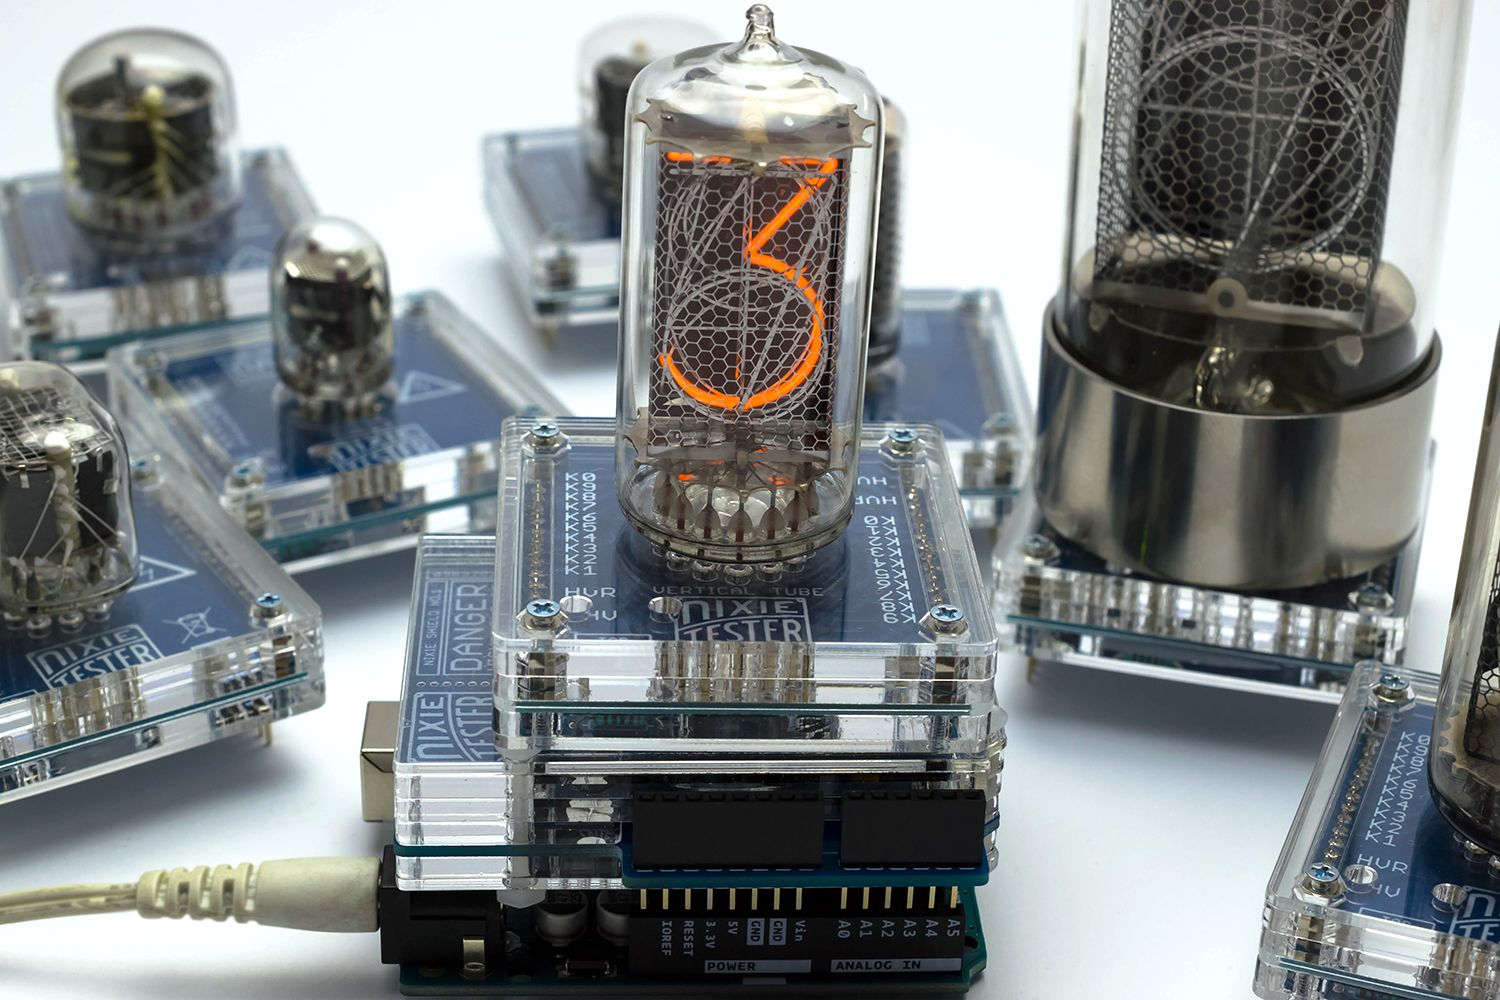
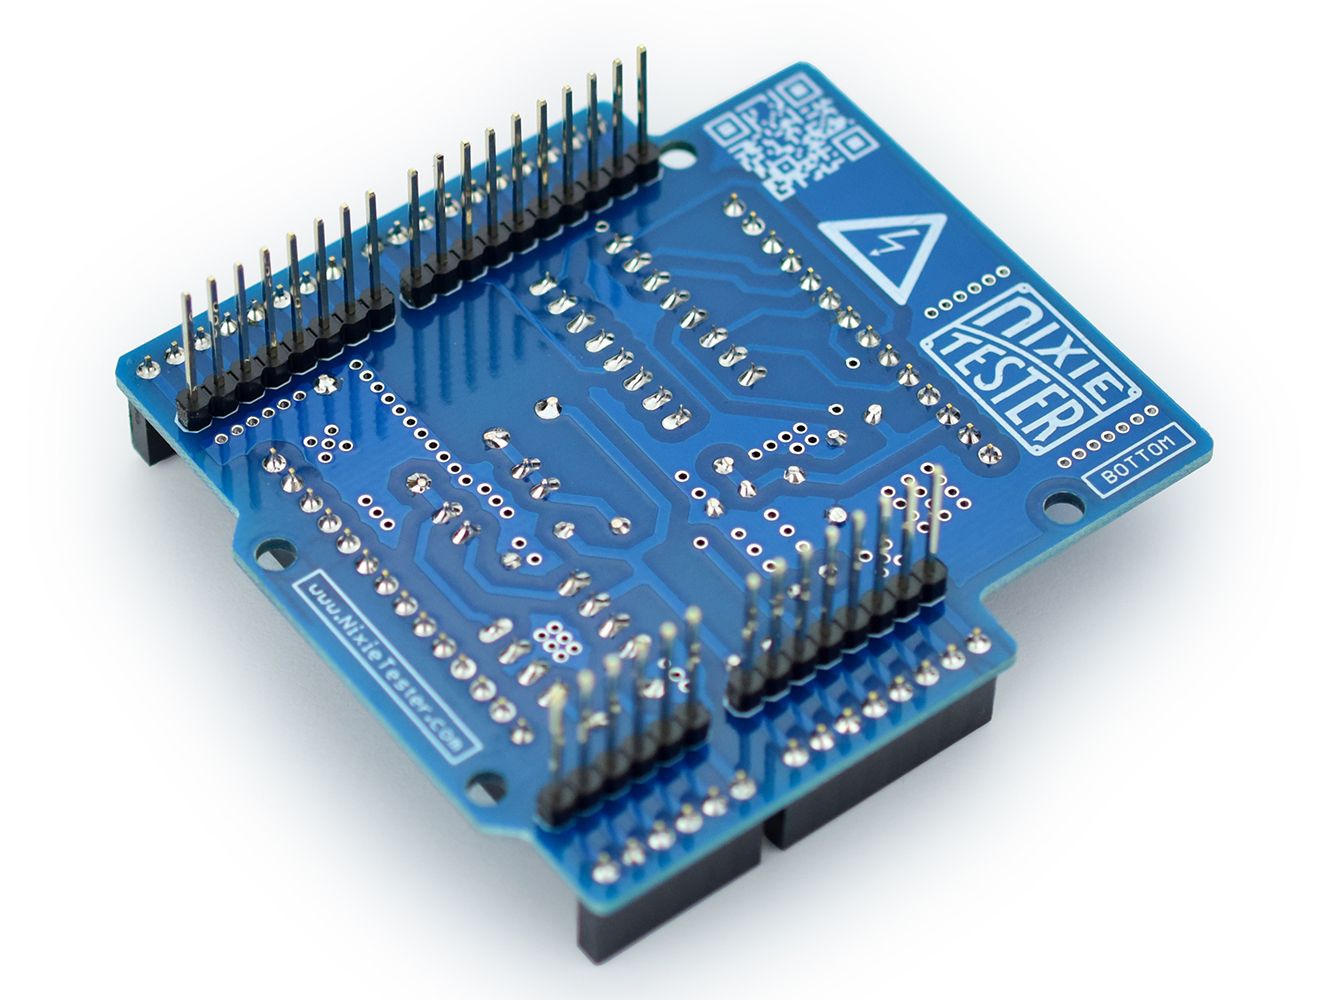
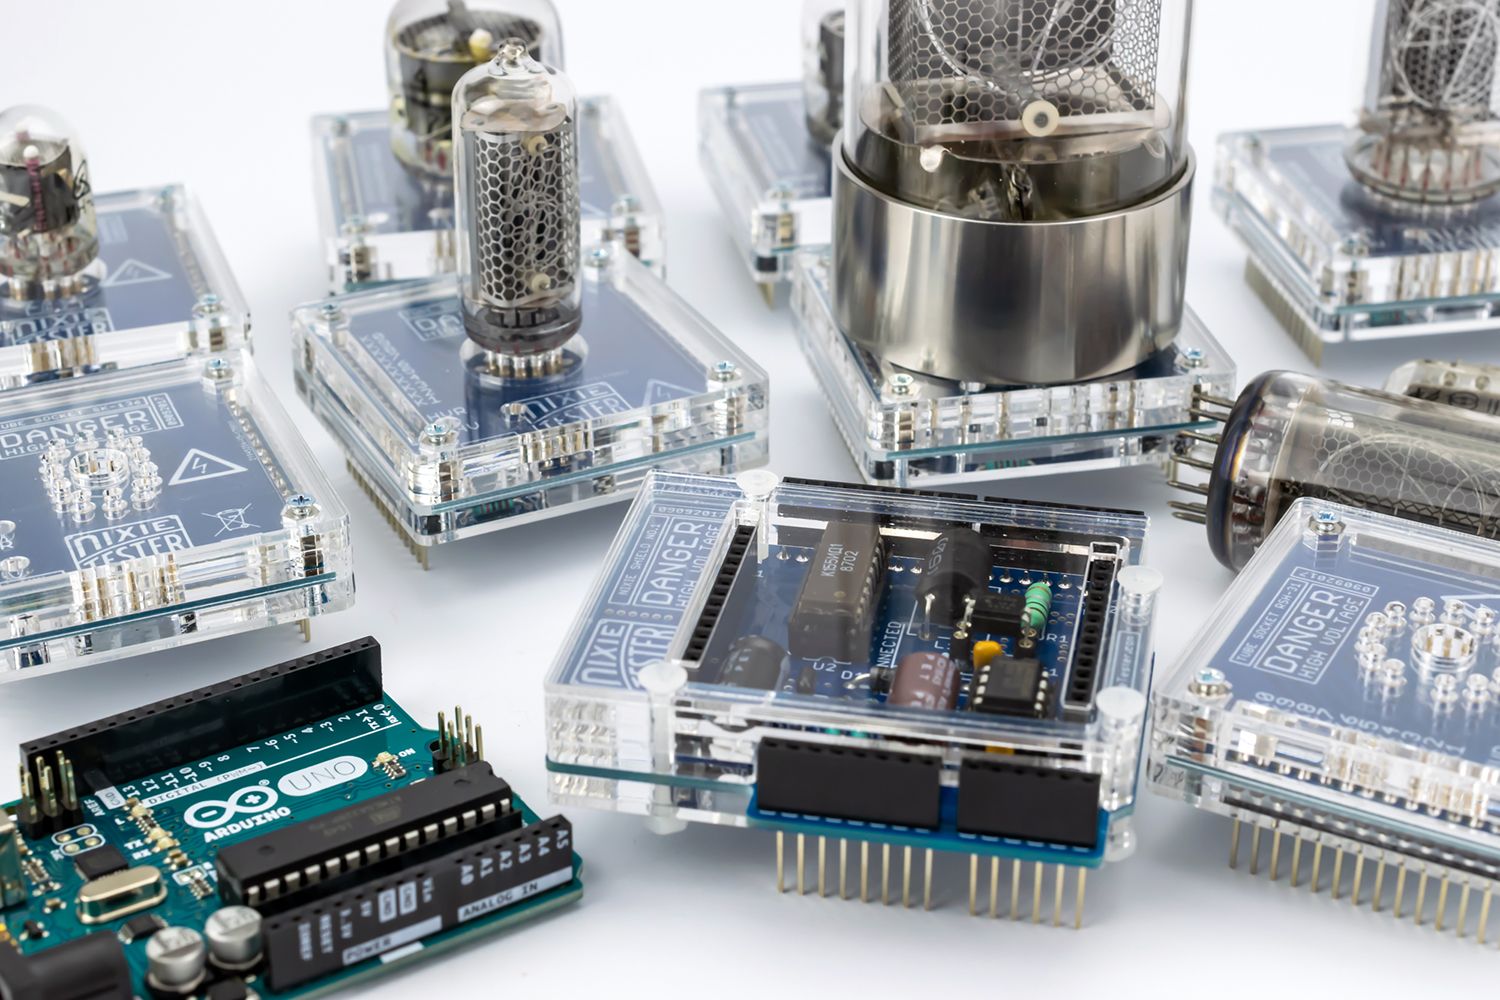
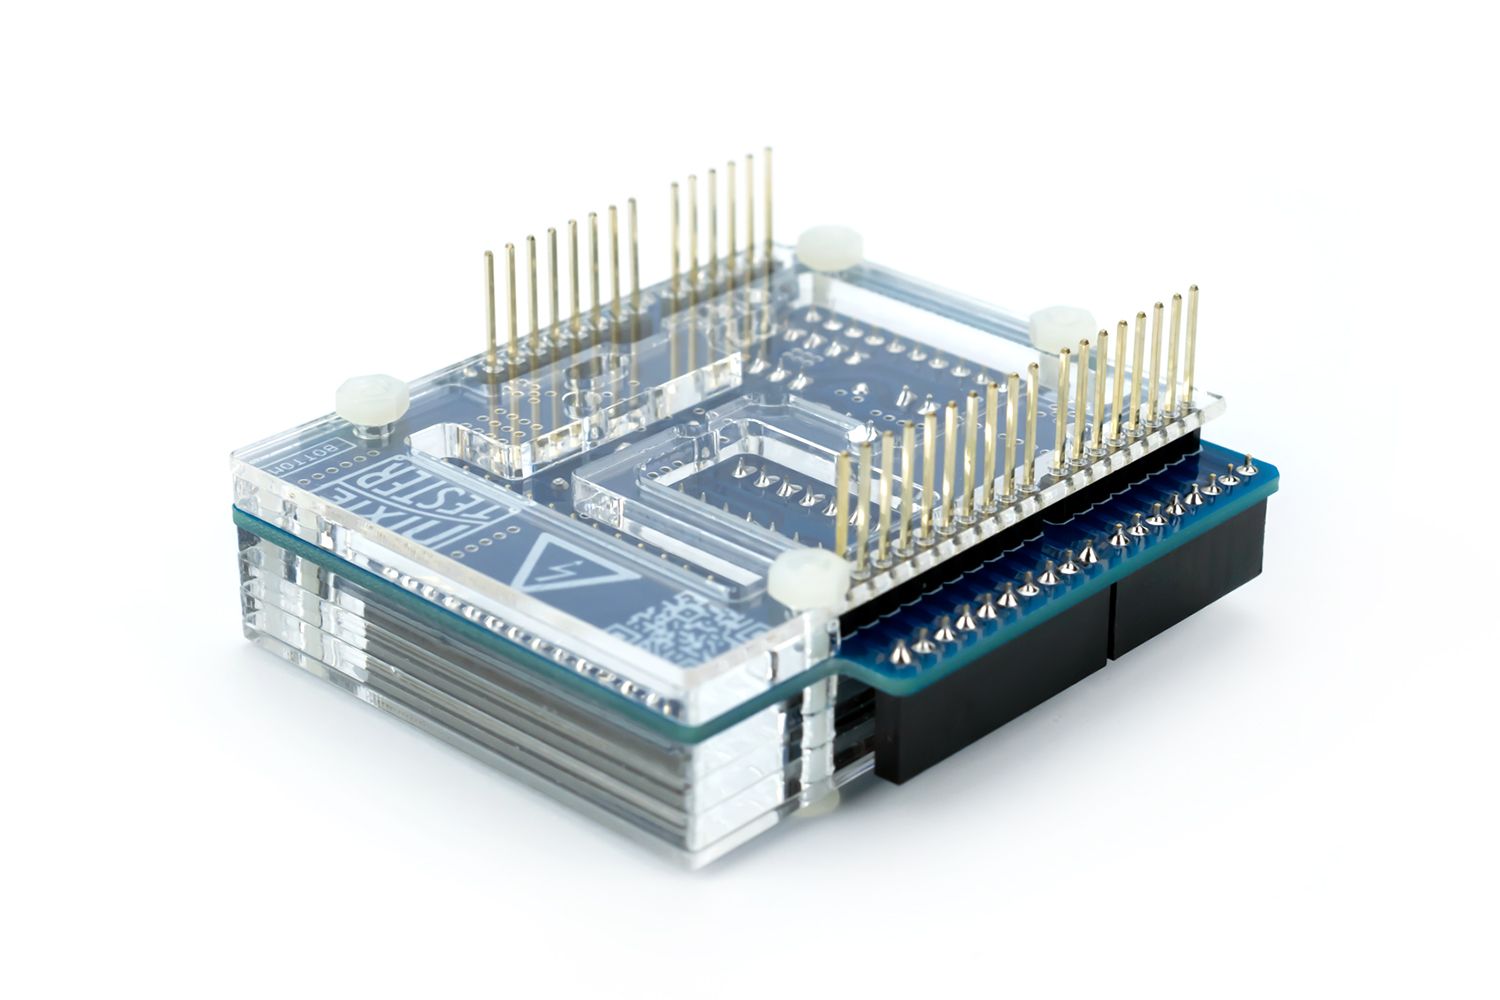
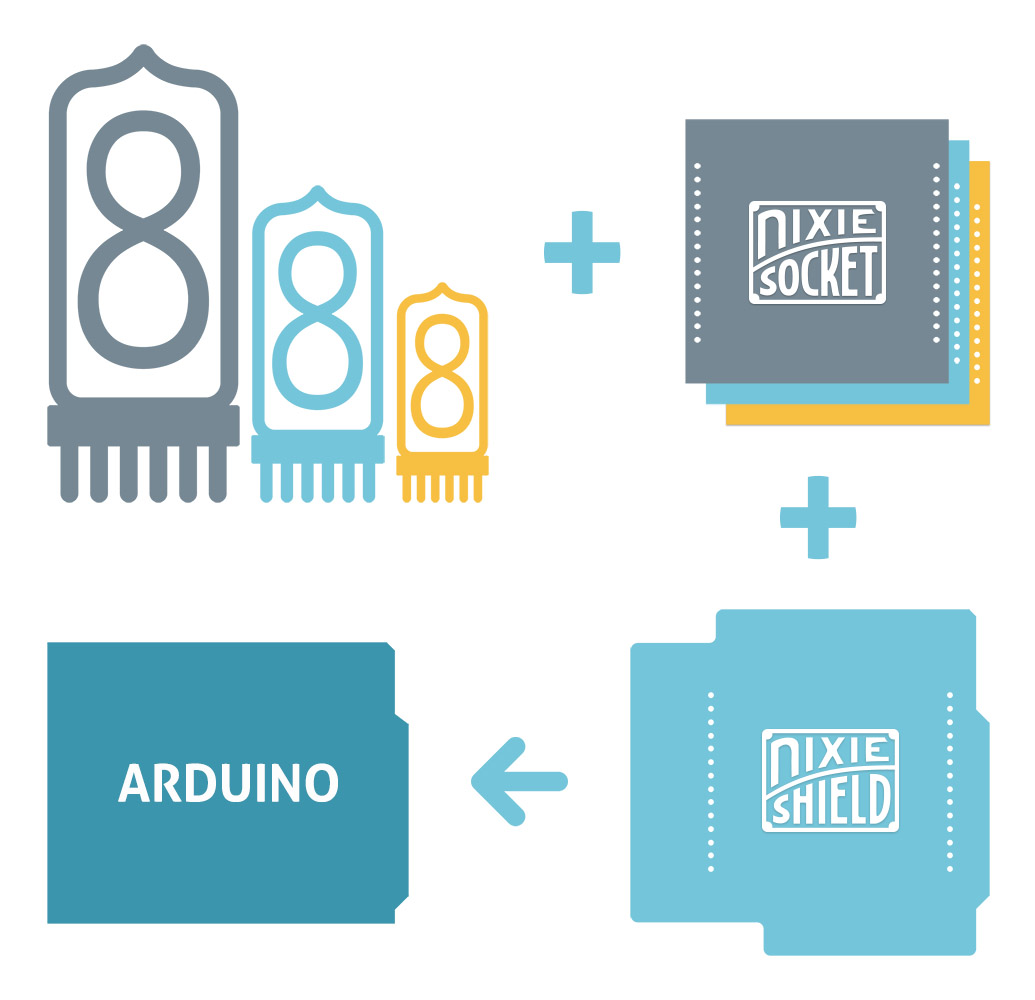
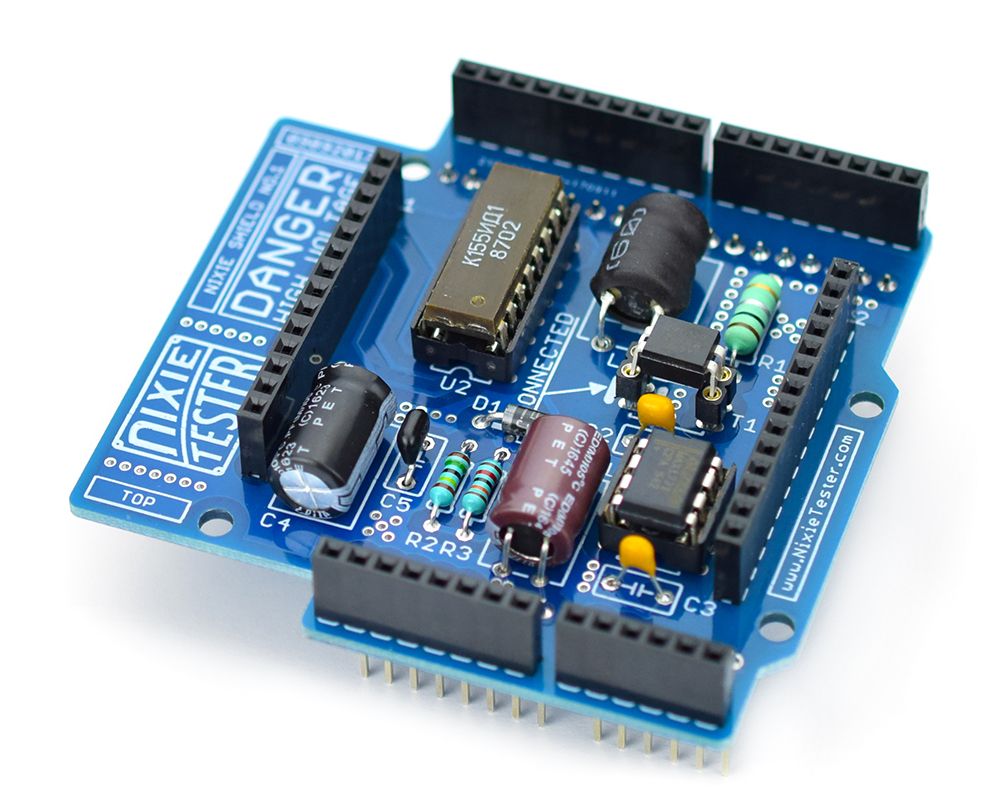
The Nixie Shield is a modular circuit board that piggyback onto your Arduino to install it with extra functionality. Shield have the same form-factor as the standard Arduino. The Nixie Shield allows an Arduino board to connect any nixie tube you want to use in your projects.
USE IT.
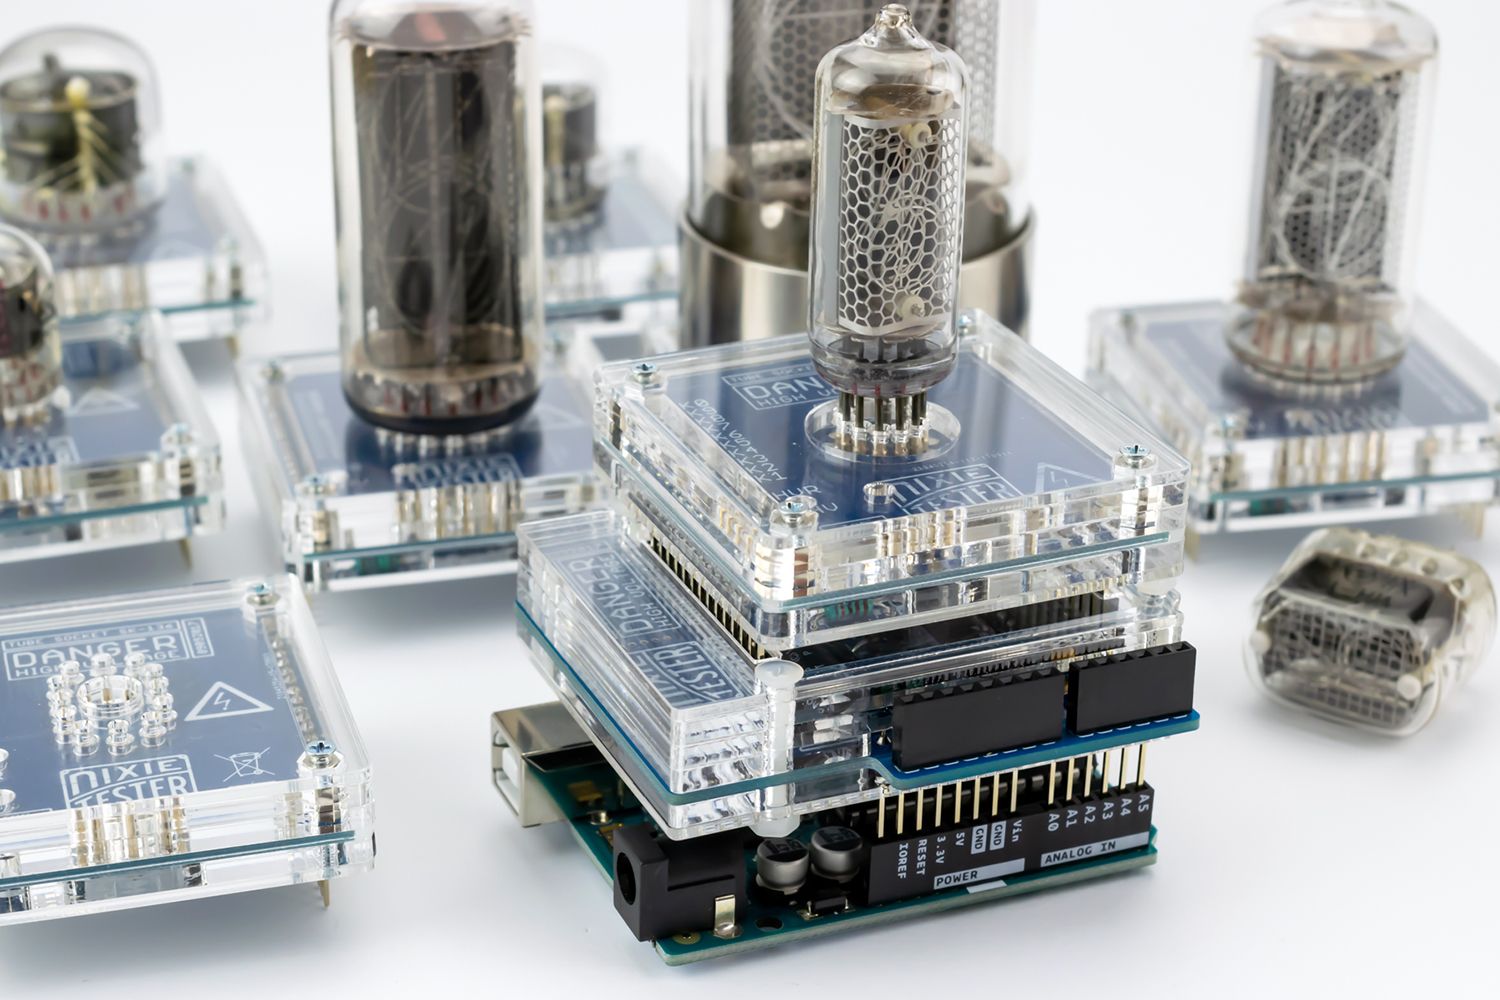
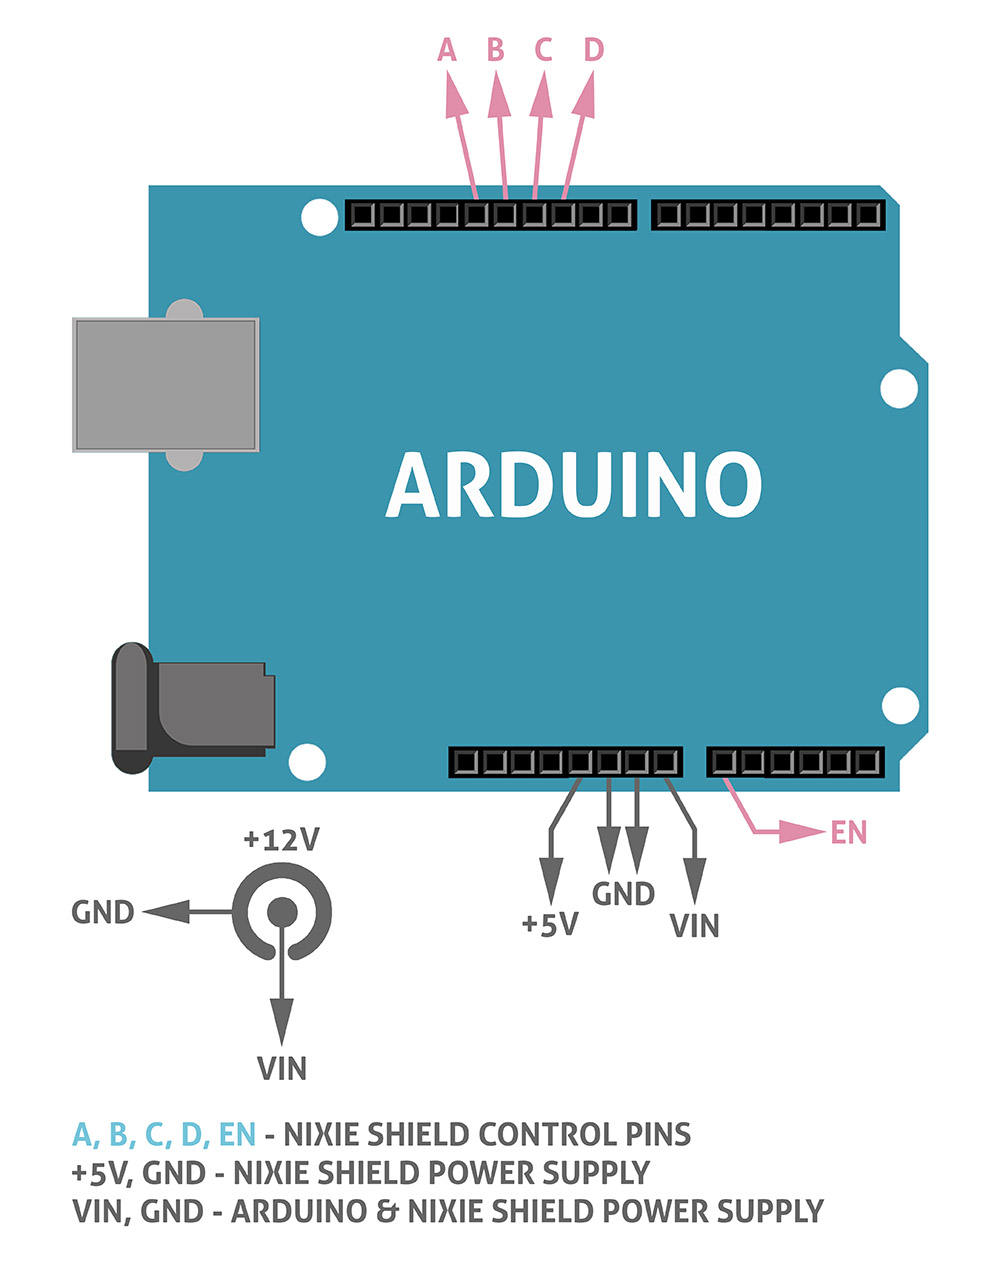
To use the shield, mount it on top of an Arduino board, then install any nixie socket (with nixie tube) on top of the nixie shield. To upload sketches to the nixie “sandwich”, connect it to your computer with a USB cable as you normally would. Once the sketch has been uploaded, you need connect 12V external power supply and voila.
EXCHANGEABLE SOCKETS.
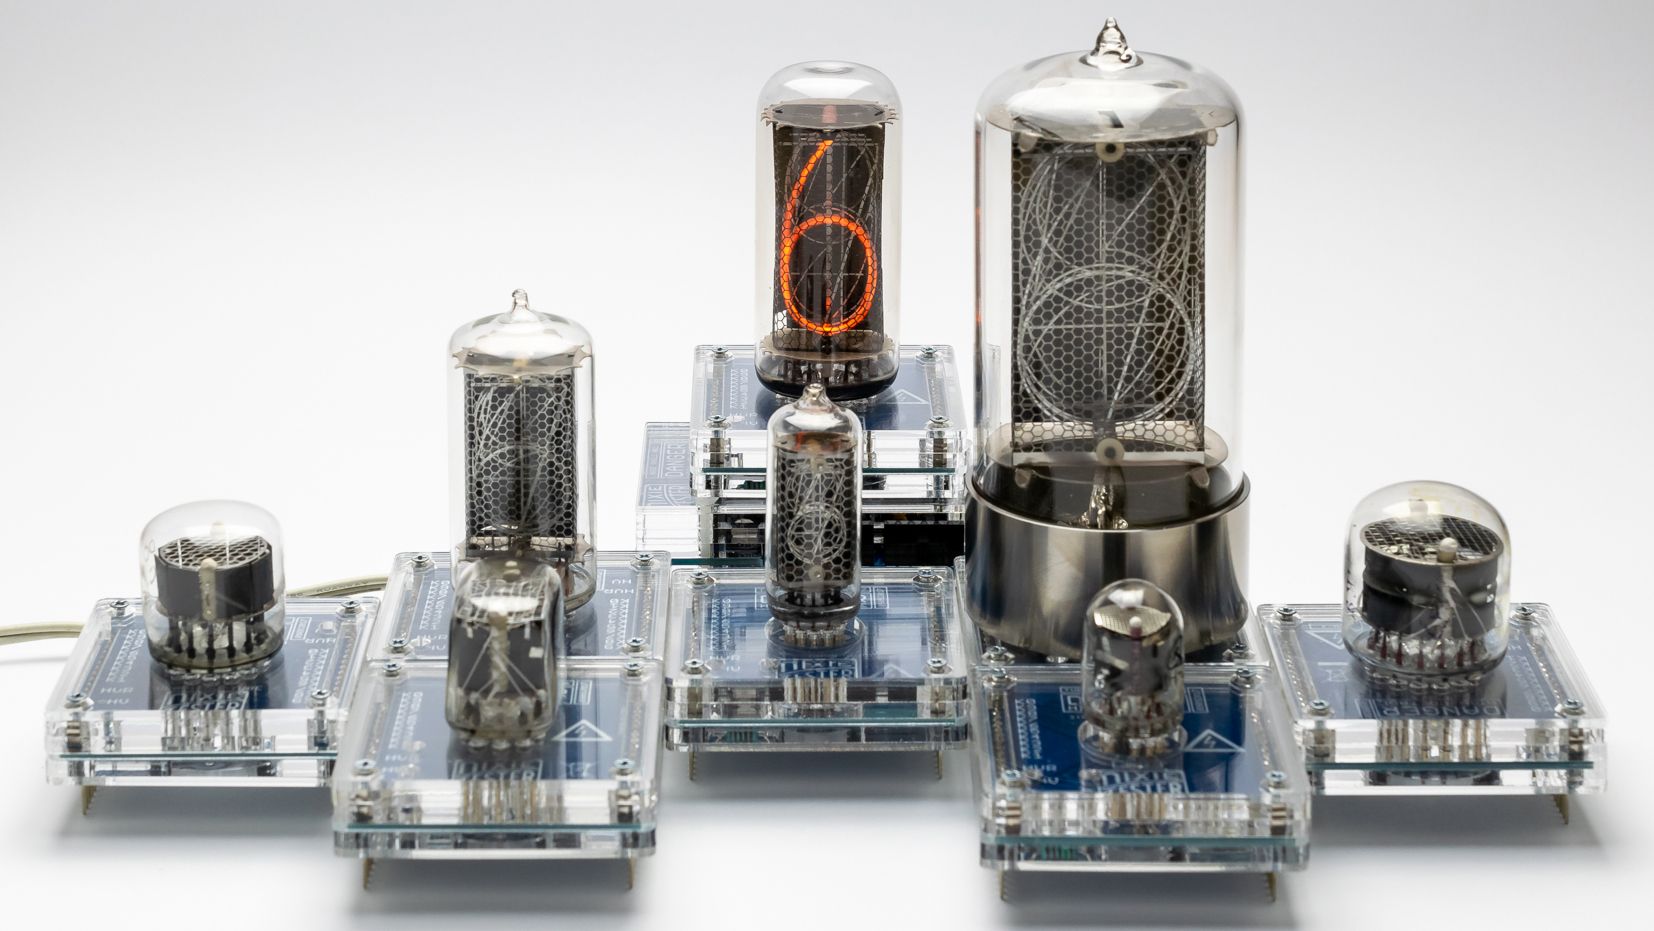
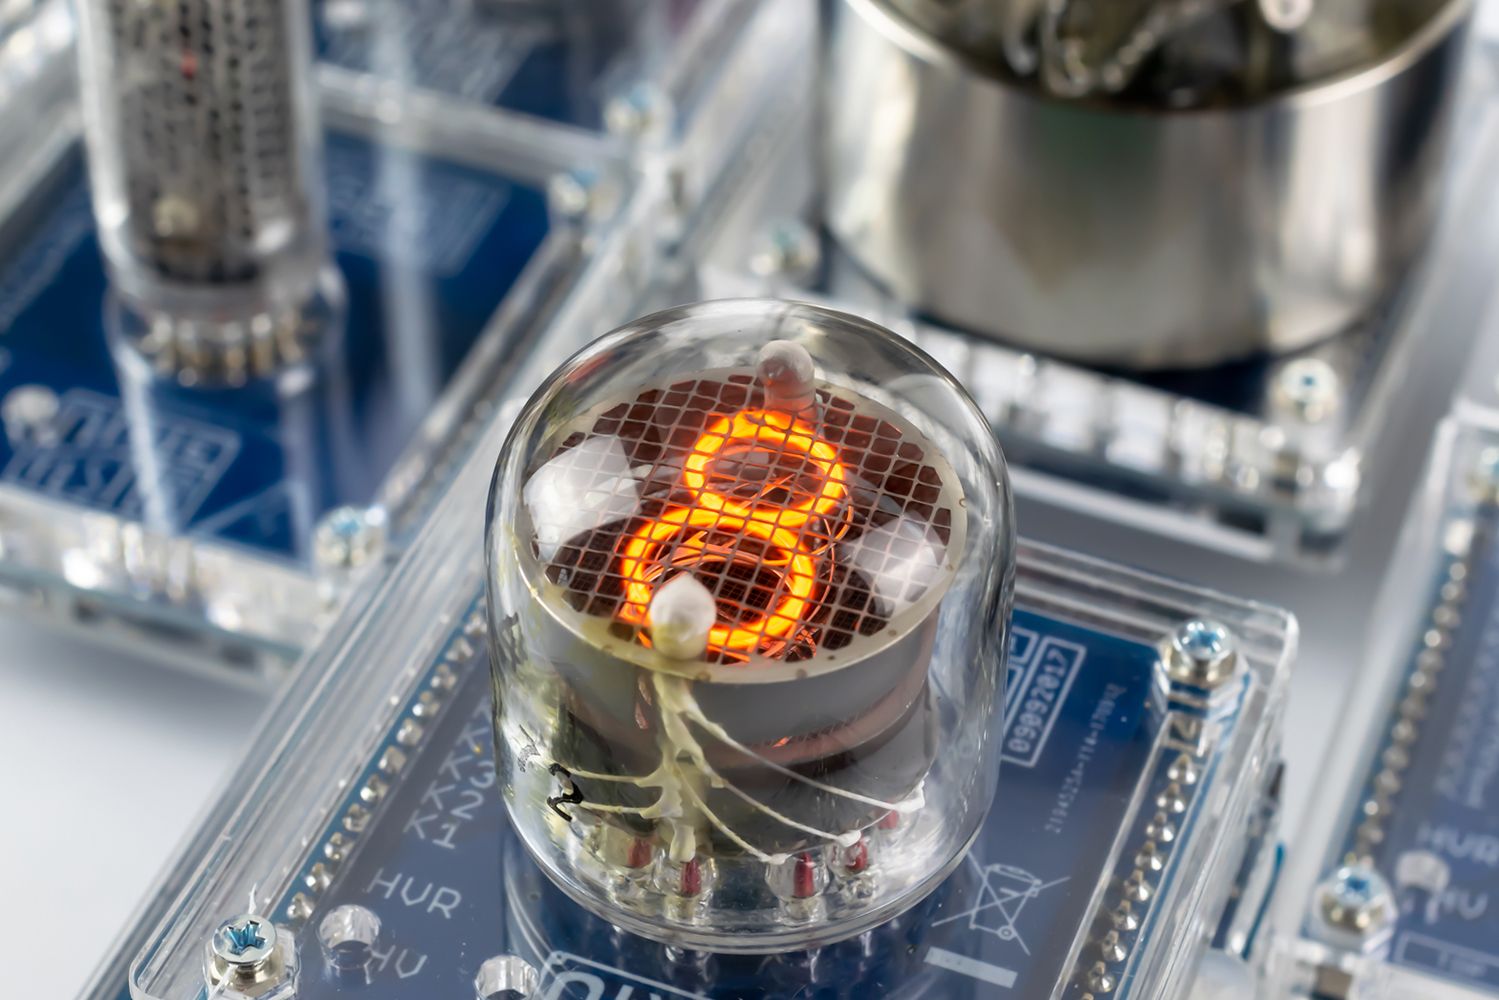
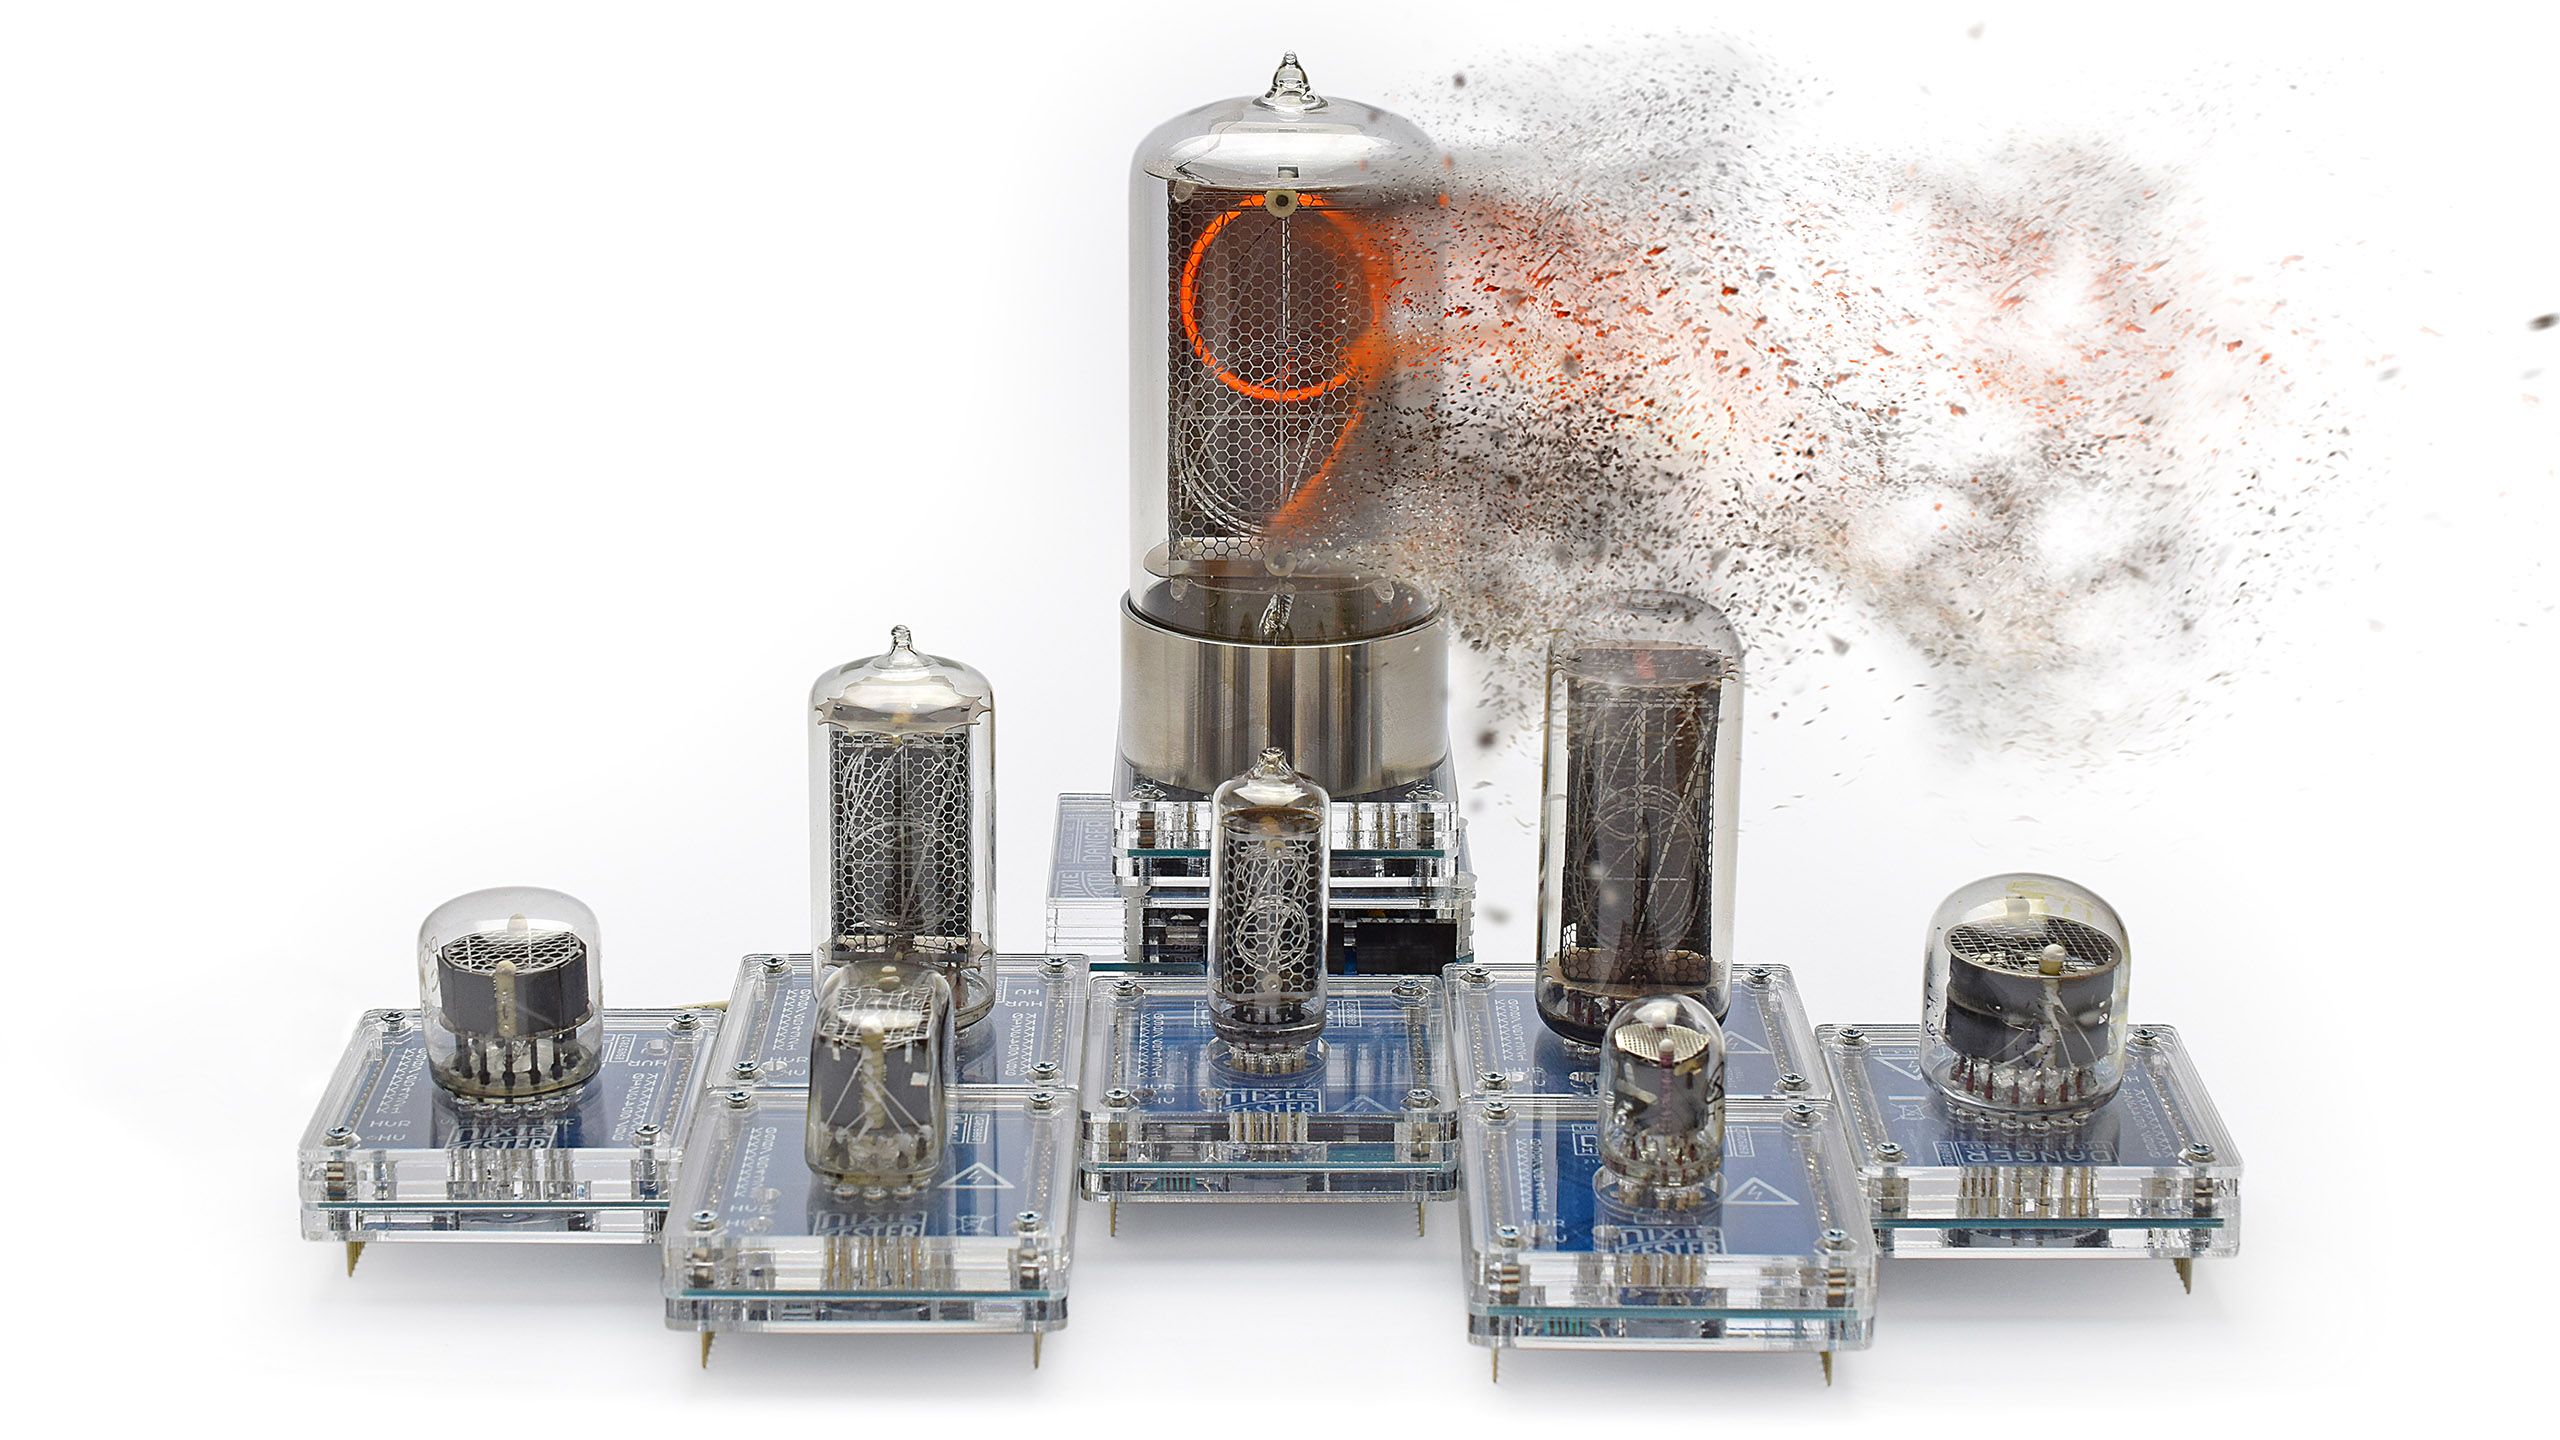
All sockets have the same pin layout which allows easy replacement of the sockets for different nixie tubes without having to any hardware change. Each of the sockets (connected to the device) provides the valid power supply parameters for the compatible nixie tubes (supply voltage and current). There are 21 compatible sockets (all sockets without socket no.16 which is dedicated for nixie tube testers, sockets no. 20, 23, 24).



EXTENSION PINS.
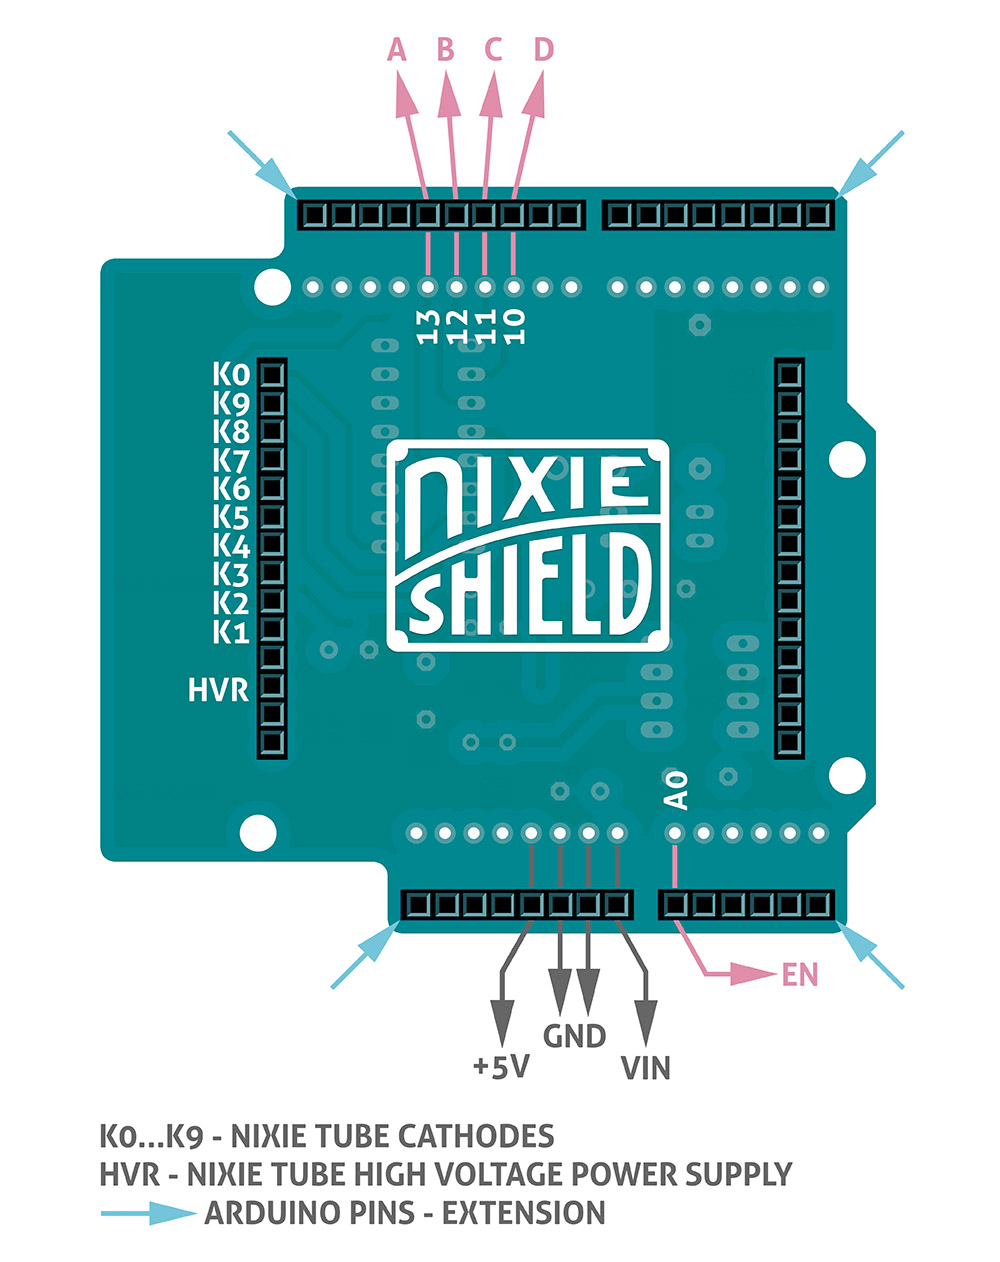
The Nixie Shield have extra functionality – external pins. All Arduino pins are available for use with different modules, breadboards (connected by jumper cables). You can use these pins with your projects.

CODING.
Driving nixie tube by Arduino is very simple. The Nixie Shield use only five Arduino pins.
